
Feather Stitch Crochet Tutorial for Beginners
- Lenka
- 6 days ago
- 4 min read
Looking for a beautiful textured crochet stitch that’s both fun to make and beginner-friendly? The Feather Stitch might just become your new favourite! In this step-by-step tutorial, you’ll learn exactly how to crochet the feather stitch with clear instructions and detailed photos to guide you along the way.
Whether you're creating a soft baby blanket, a cozy scarf, or adding texture to your next project, the feather stitch offers a unique look that stands out. This stitch works beautifully in both solid colours and variegated yarns, making it a versatile addition to your stitch library.
In this post, you'll find:
Easy-to-follow written instructions
Step-by-step photo tutorial
A link to my video tutorial
Let’s get stitching and bring some featherlight texture into your crochet projects!

If you wish to support my work you can do so with Buy Me a Coffee (my version is Buy Me Yarn, you know why:) ).
It's a symbolic amount that supports me in maintaining my blog and producing more free content for you. Find out more by clicking the link or button.
BIG THANKS for everyone who supports me by purchases, likes, shares, comments, tags or/and feedbacks! It means a lot to me.
This post contains affiliate links for the yarns I used and love and it also displays ads. I make a small commission if you purchase through these links or through the Ads which in no way affects the cost to you. The revenue I receive from Ads, and affiliate links, help me to support my small business which allows me to share my free crochet patterns/content with you. Thank you for your understanding and your support! It means a lot to me.
This pattern and all images associated with this pattern cannot be sold or claimed as your own. Feel free to comment, like or share this post.
Before we get into the actual pattern, I also created the Ultimate Crochet Hack Sheet! It's 2 pages with basic crochet abbreviations and symbols, hook sizes in US and UK versions, all the yarn types (with recommended hooks and projects), etc. Feel free to click on the pic or a link to my shop where you can find more details.
Video Tutorial
Check out my YouTube video tutorial where I cover everything. It's a fantastic complement to any written pattern. You're welcome to leave feedback in the video comments.
Recommended Materials
In this tutorial, I use LionBrand Cotton24/7 cotton yarn. I find that the texture stands out more with cotton yarn, and its bright colors are beneficial during tutorials. For this yarn I use a 4mm/G-6 crochet hook.
However, if you're new to crocheting and just practicing, I highly recommend using any solid color acrylic yarn that works with a 5mm/H-8 hook size.


Below is the crochet chart for the Feather Stitch. It's an excellent method for learning to read crochet charts, and understanding written instructions can sometimes be beneficial.
Since there’s no standard symbol for the feather stitch, I created a custom cluster using only half double crochet symbols to clearly indicate where to insert the hook.


Directions
For the Feather Stitch you always start with even number of FCH

ROW 1 - Next, make a HDC into the second chain from the hook (for the tutorial on how to crochet HDC, visit this link), and continue with HDC stitches until you reach the end of the row. Chain 1 (this does not count as a stitch, it serves only as a turning chain) and turn your work.

ROW 2 - HDC into the first stitch, chain 1 (skip a stitch), and then HDC into the following stitch. Continue the pattern of *chaining 1 (forming a chain space) and HDC* until you reach the end of the row. End with an HDC. Chain 1 and turn your work.

ROW 3 - In this row, we begin the actual Feather Stitch. Create a HDC in the first stitch and chain 1.
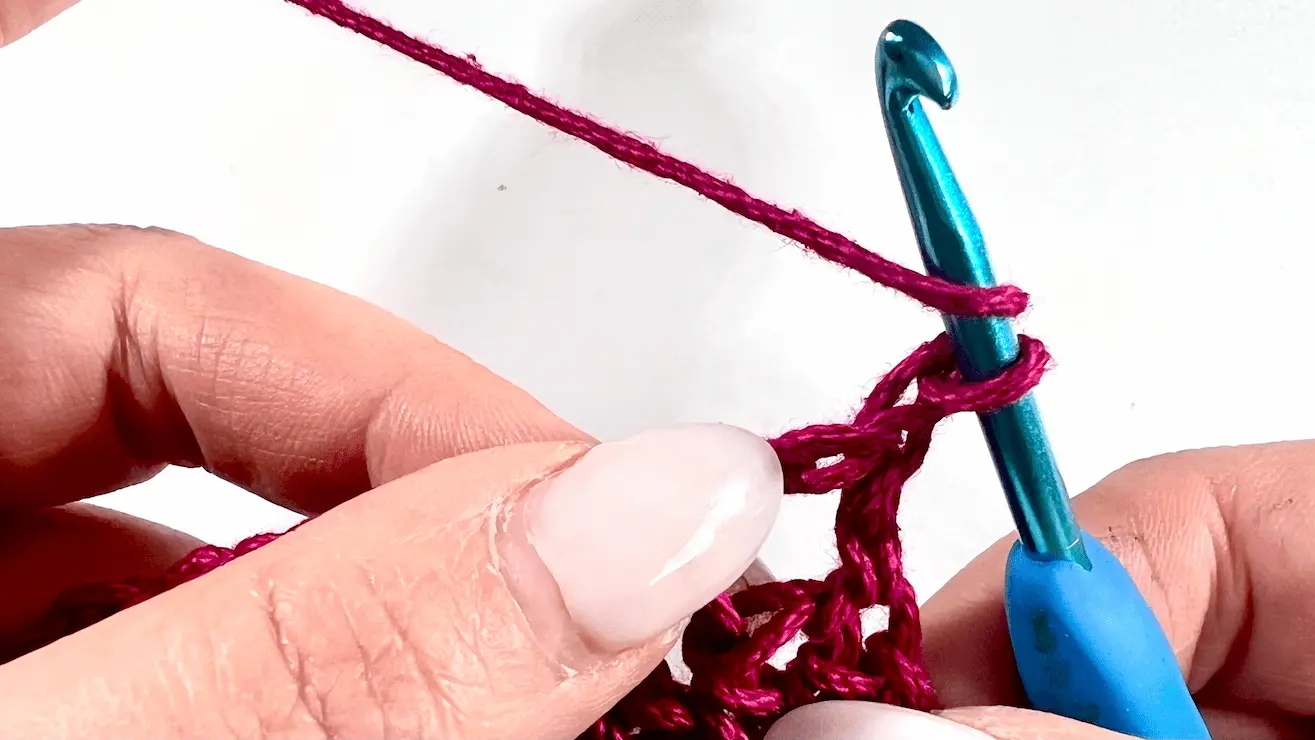
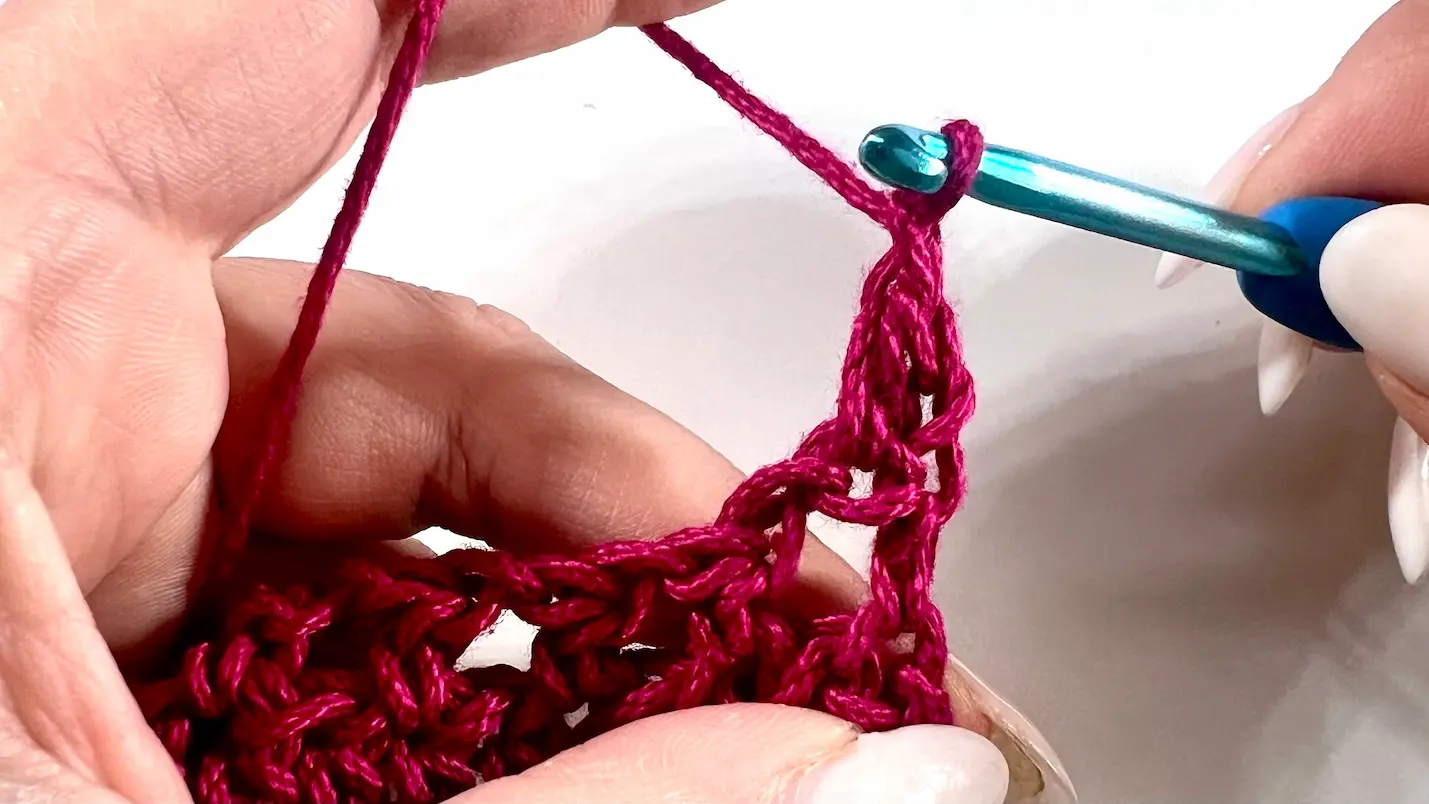
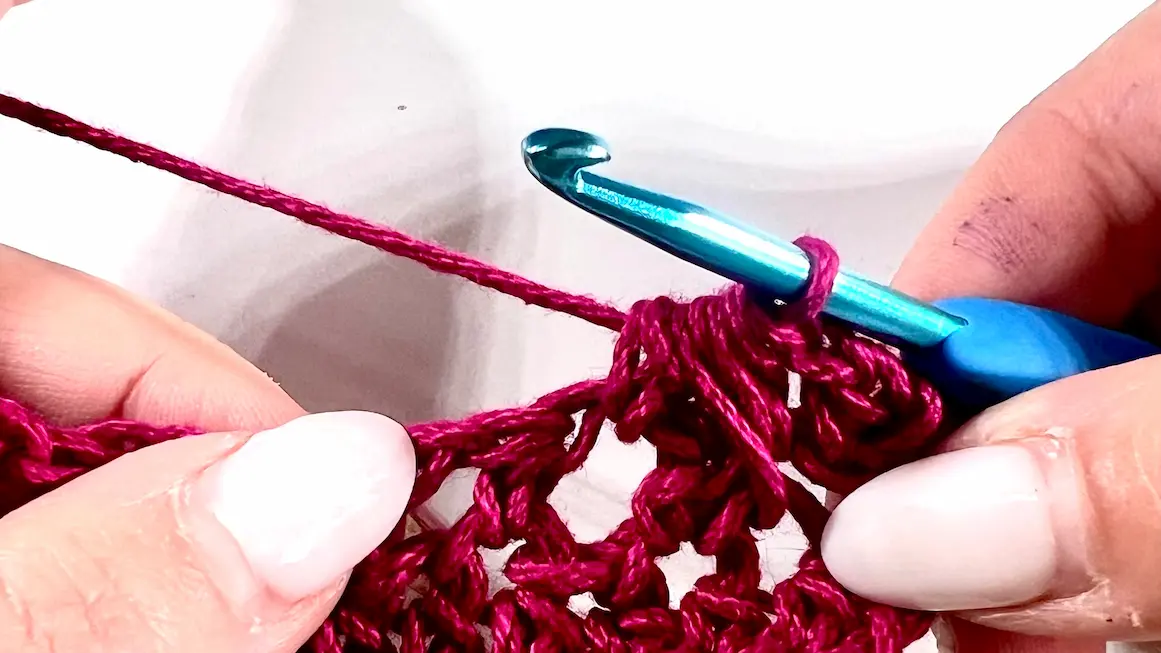
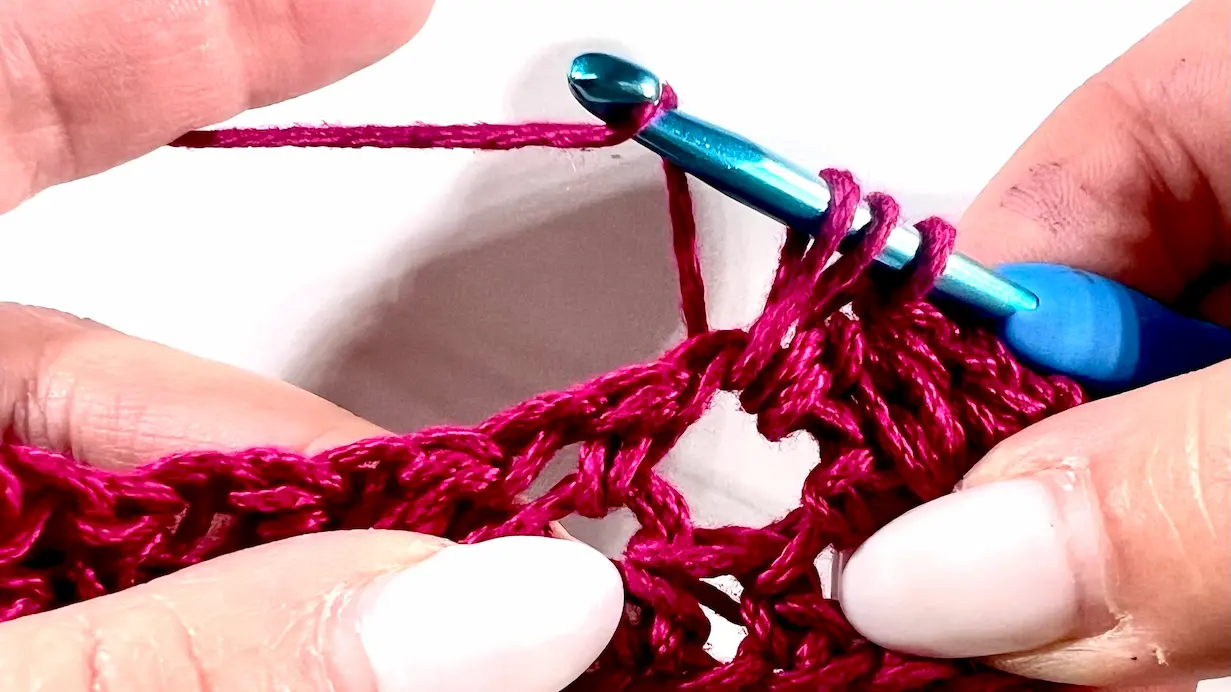
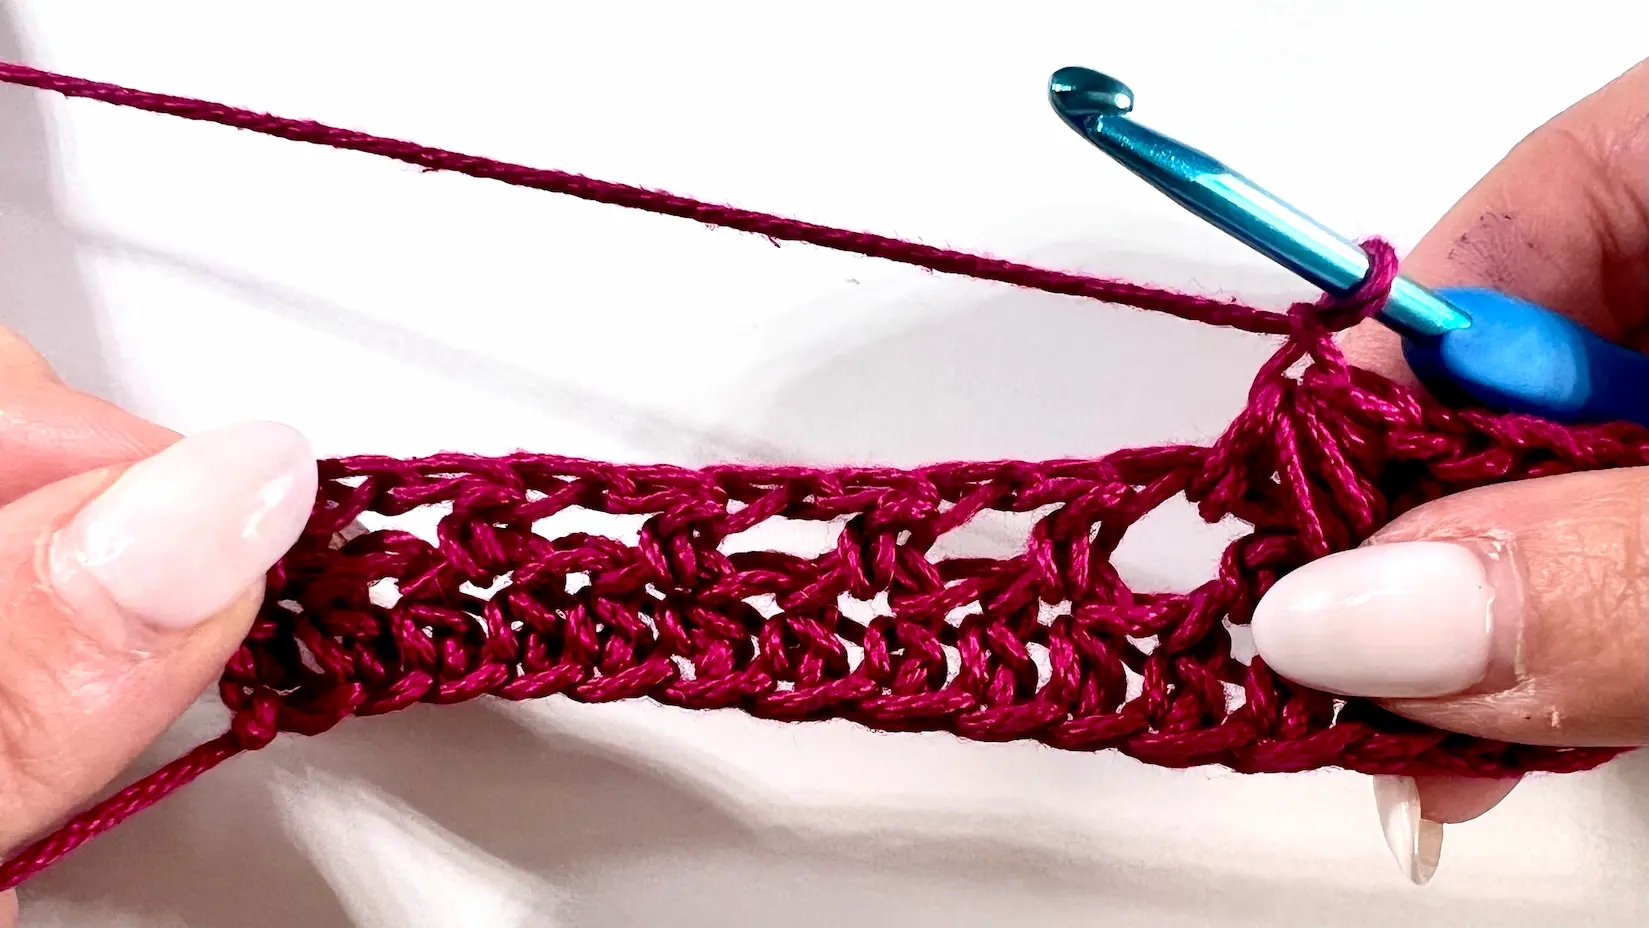
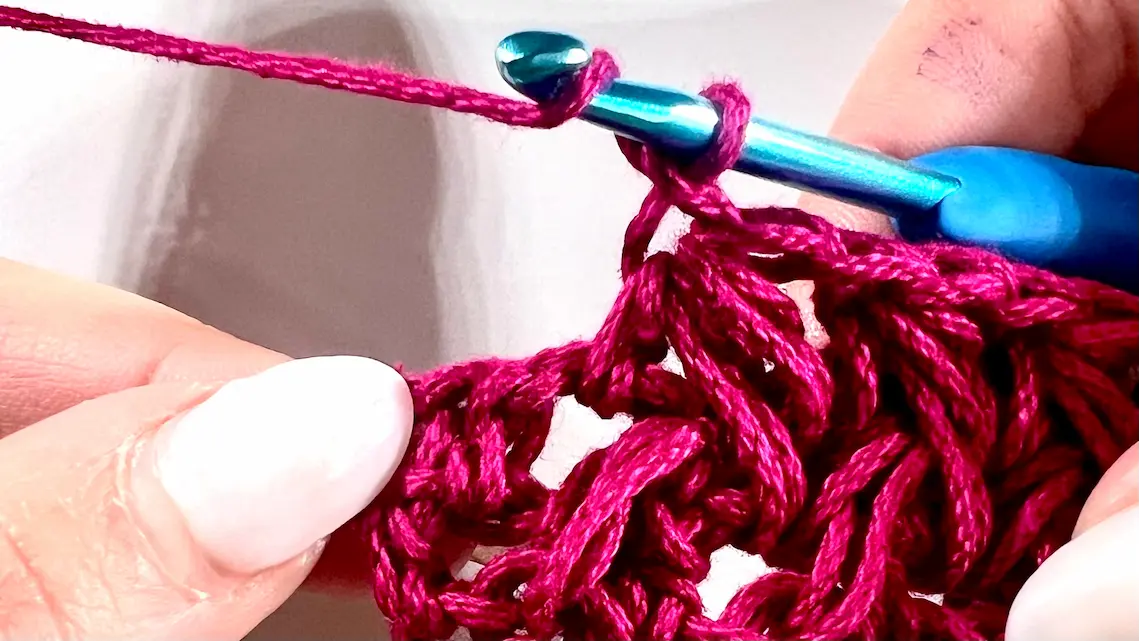
YO and Insert the hook into the first ch sp, pull up a loop (you should have three loops on your hook), YO and insert the hook into the one stitch skipped from the previous row (it's the stitch below the chain space), YO and pull up a loop (now you have 5 loops on your hook). YO and insert the hook into the next chain space, YO and pull up a loop (you should have 7 loops on your hook), YO and pull up a loop through all 7 loops. Then ch 1.
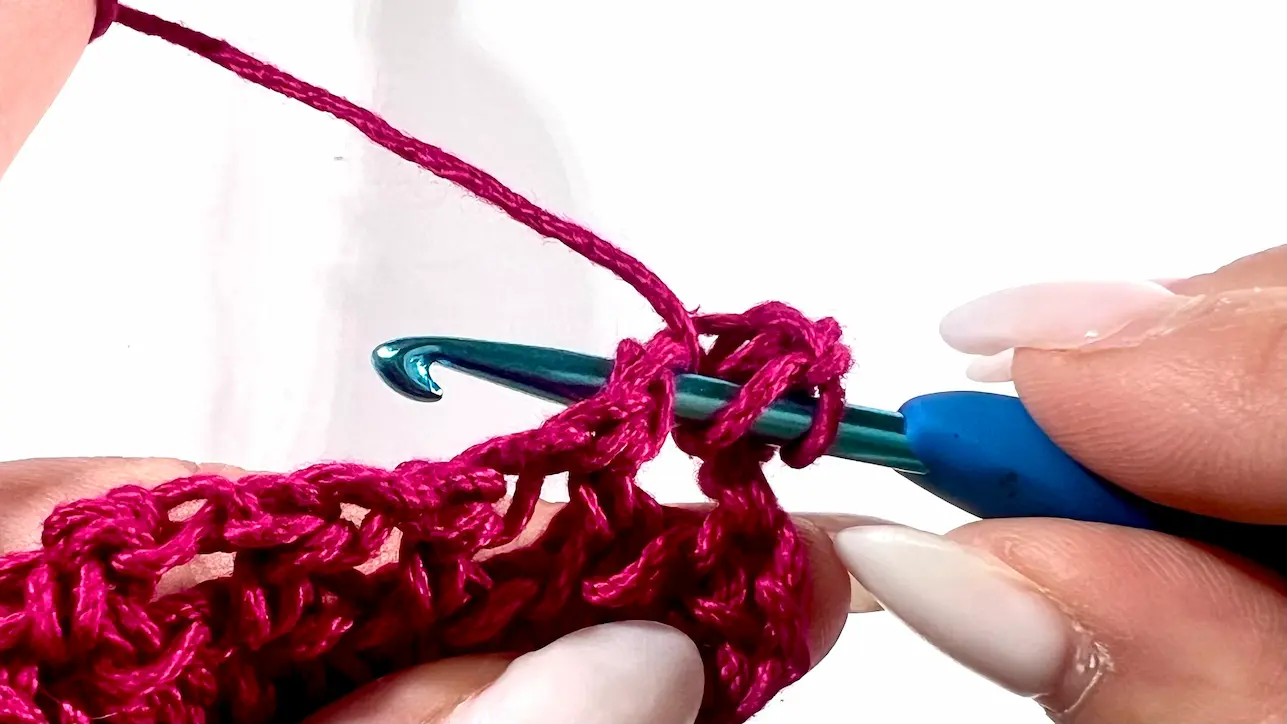


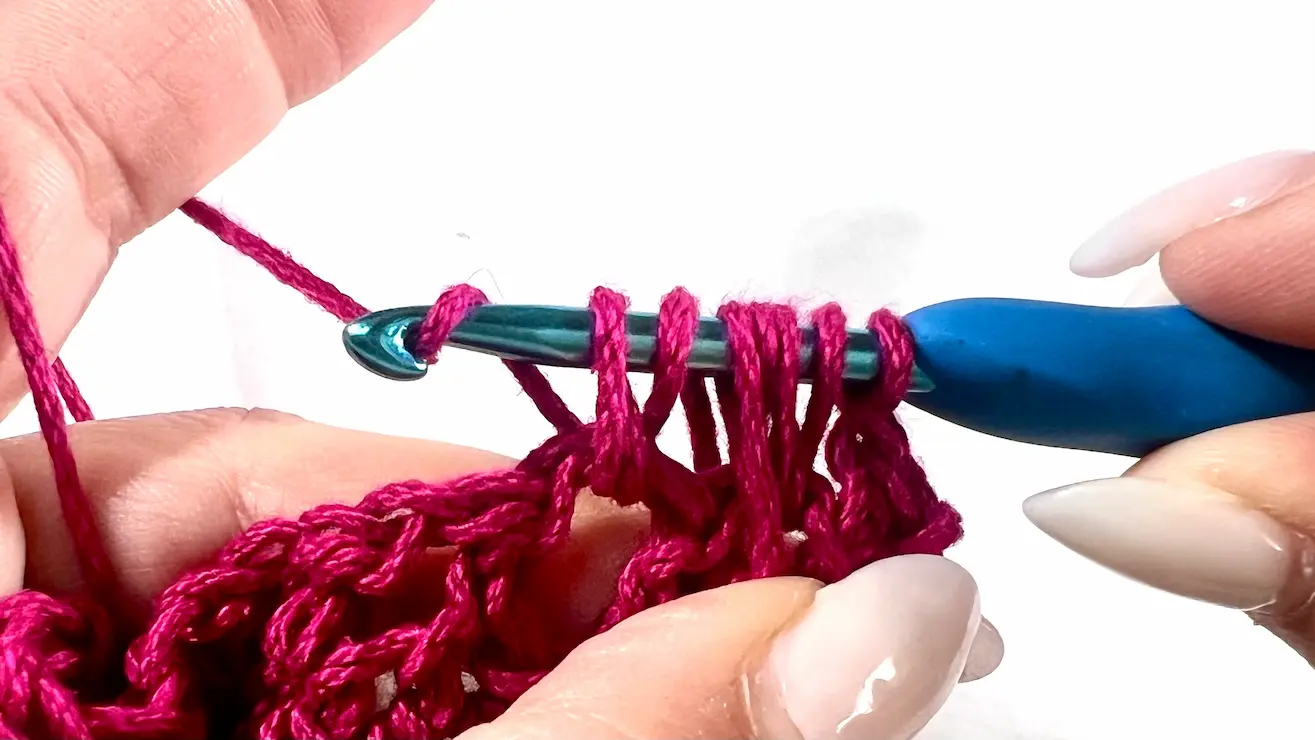
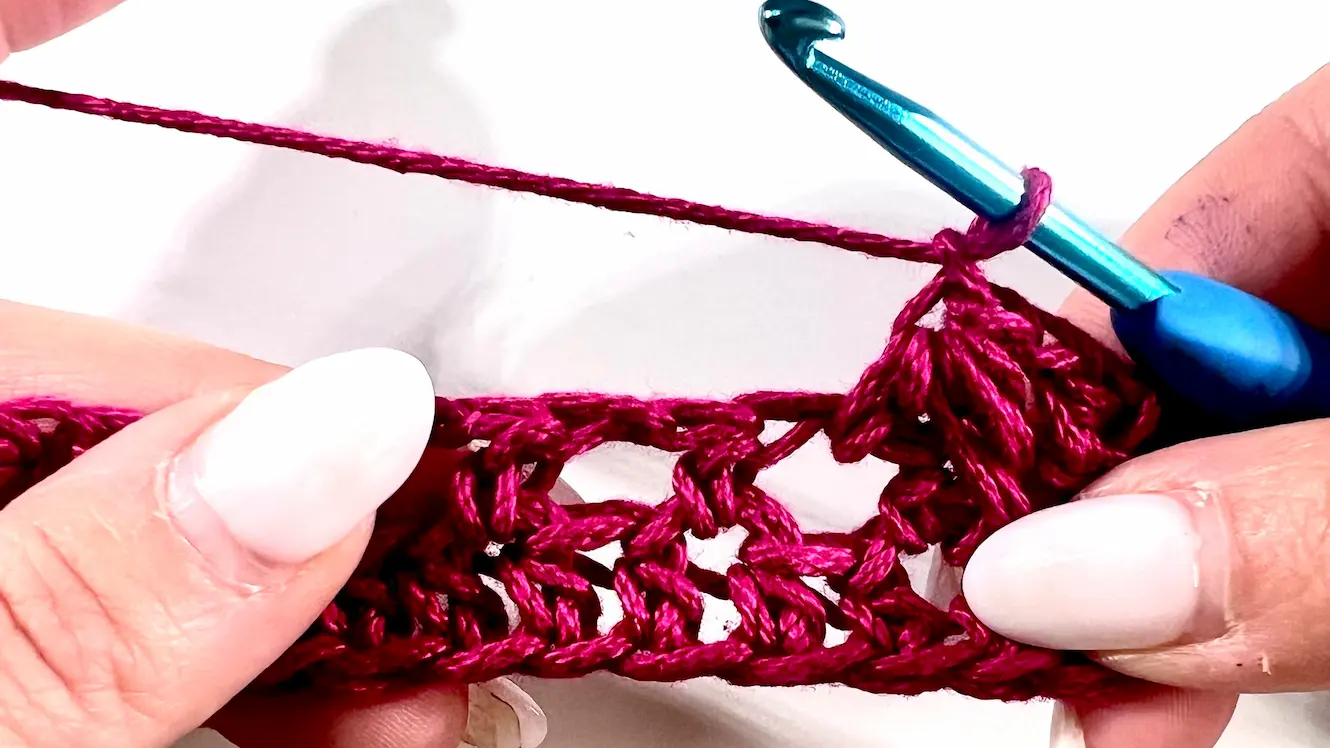
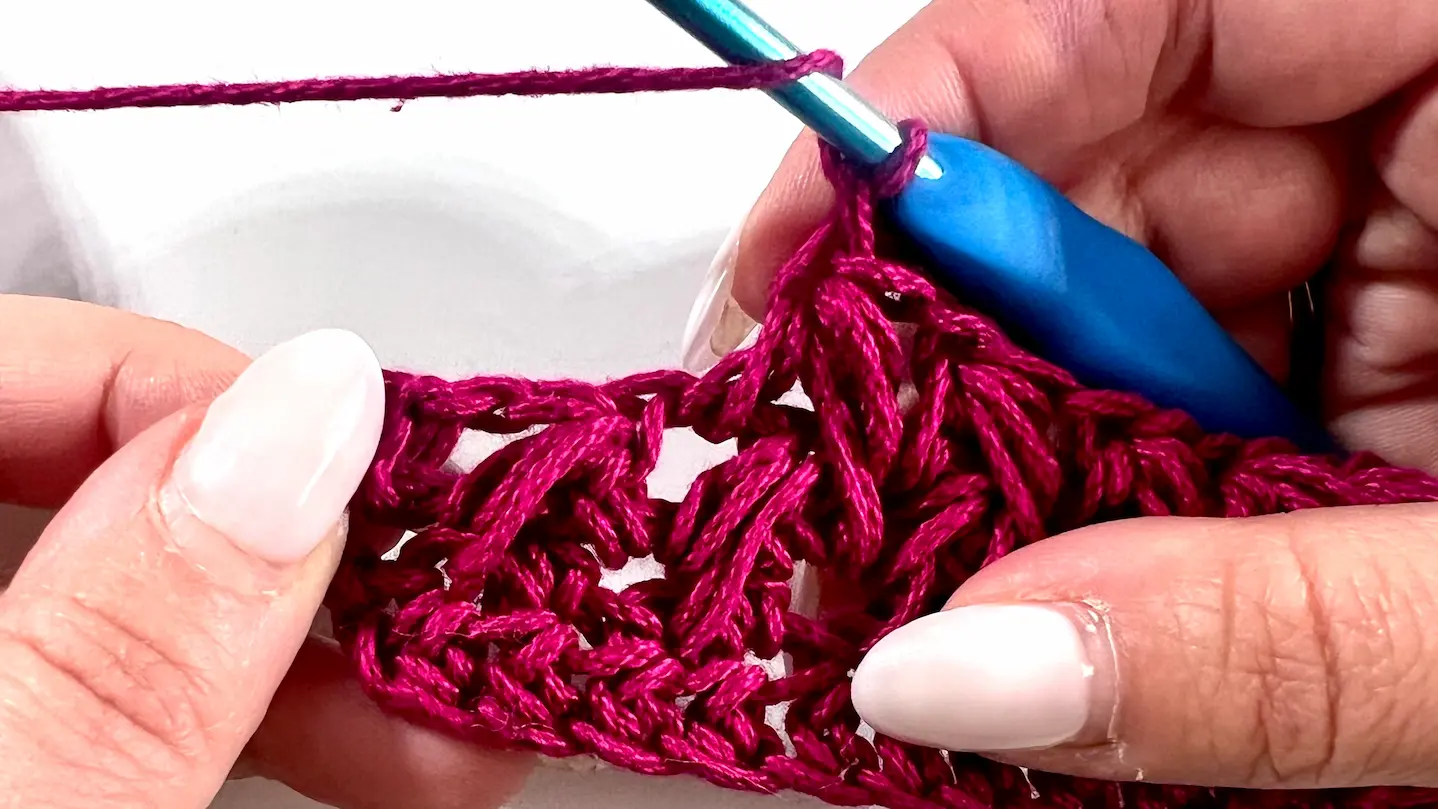
Let's create another Feather Stitch with the arrows pointing where to insert the hook. Alwyas YO before you insert the hook into the places. When you have 7 loops on your hook, YO and pull up a loop through all 7 loops and ch 1.


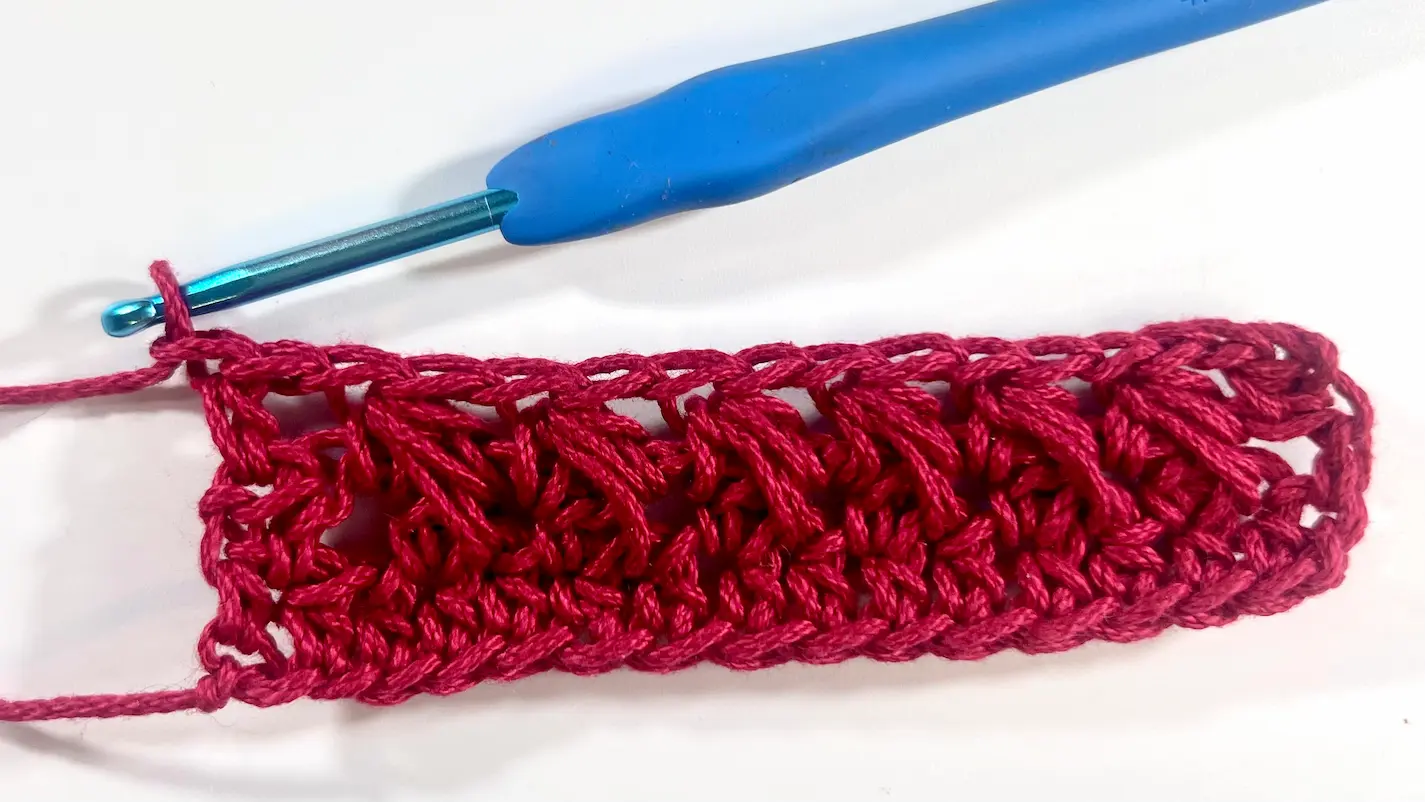
Continue working the Feather Stitches until you reach the end of the row. As you create the final Feather Stitch in the last chain space (and again chain 1 after pulling a loop through all 7 loops), proceed by making your HDC in the last stitch. Now your ROW 3 is complete.


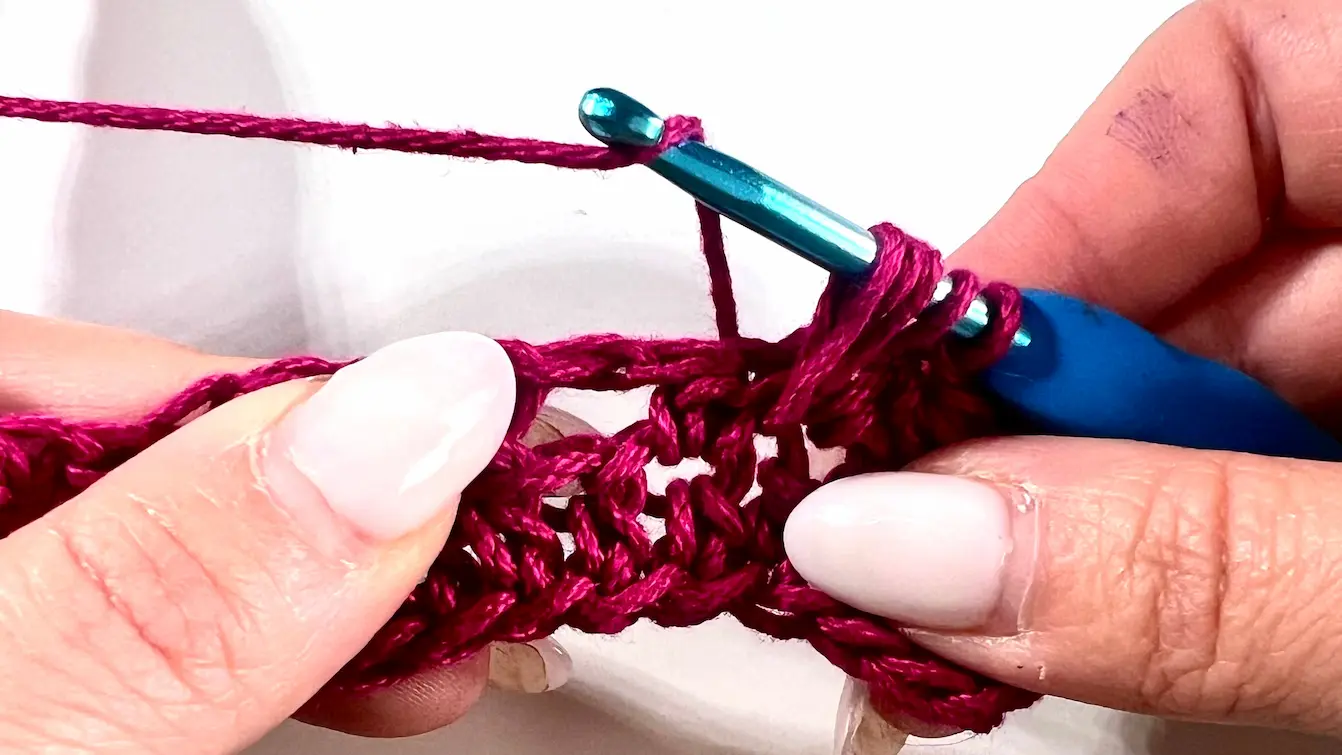
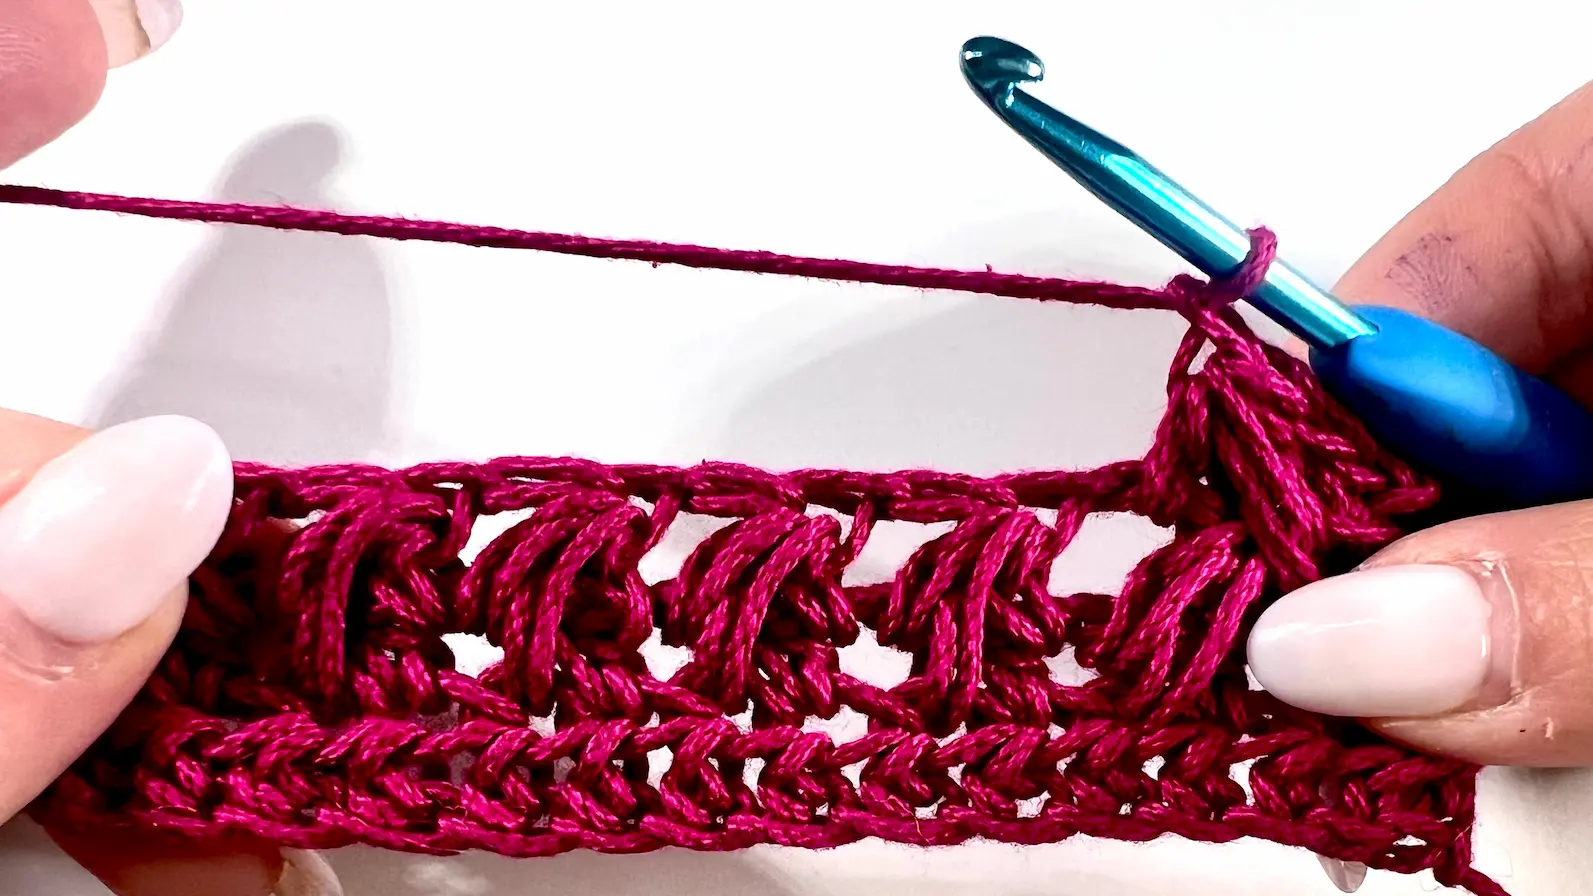
ROW 4 - Start with HDC into the first stitch and ch 1. and then your Feather Stitch.


You can notice where the spaces are to insert your hook for Feather Stitches. Continue until the end of the row. Don't forget about your last ch sp as it's quite hidden.. Then make your HDC into the last stitch..
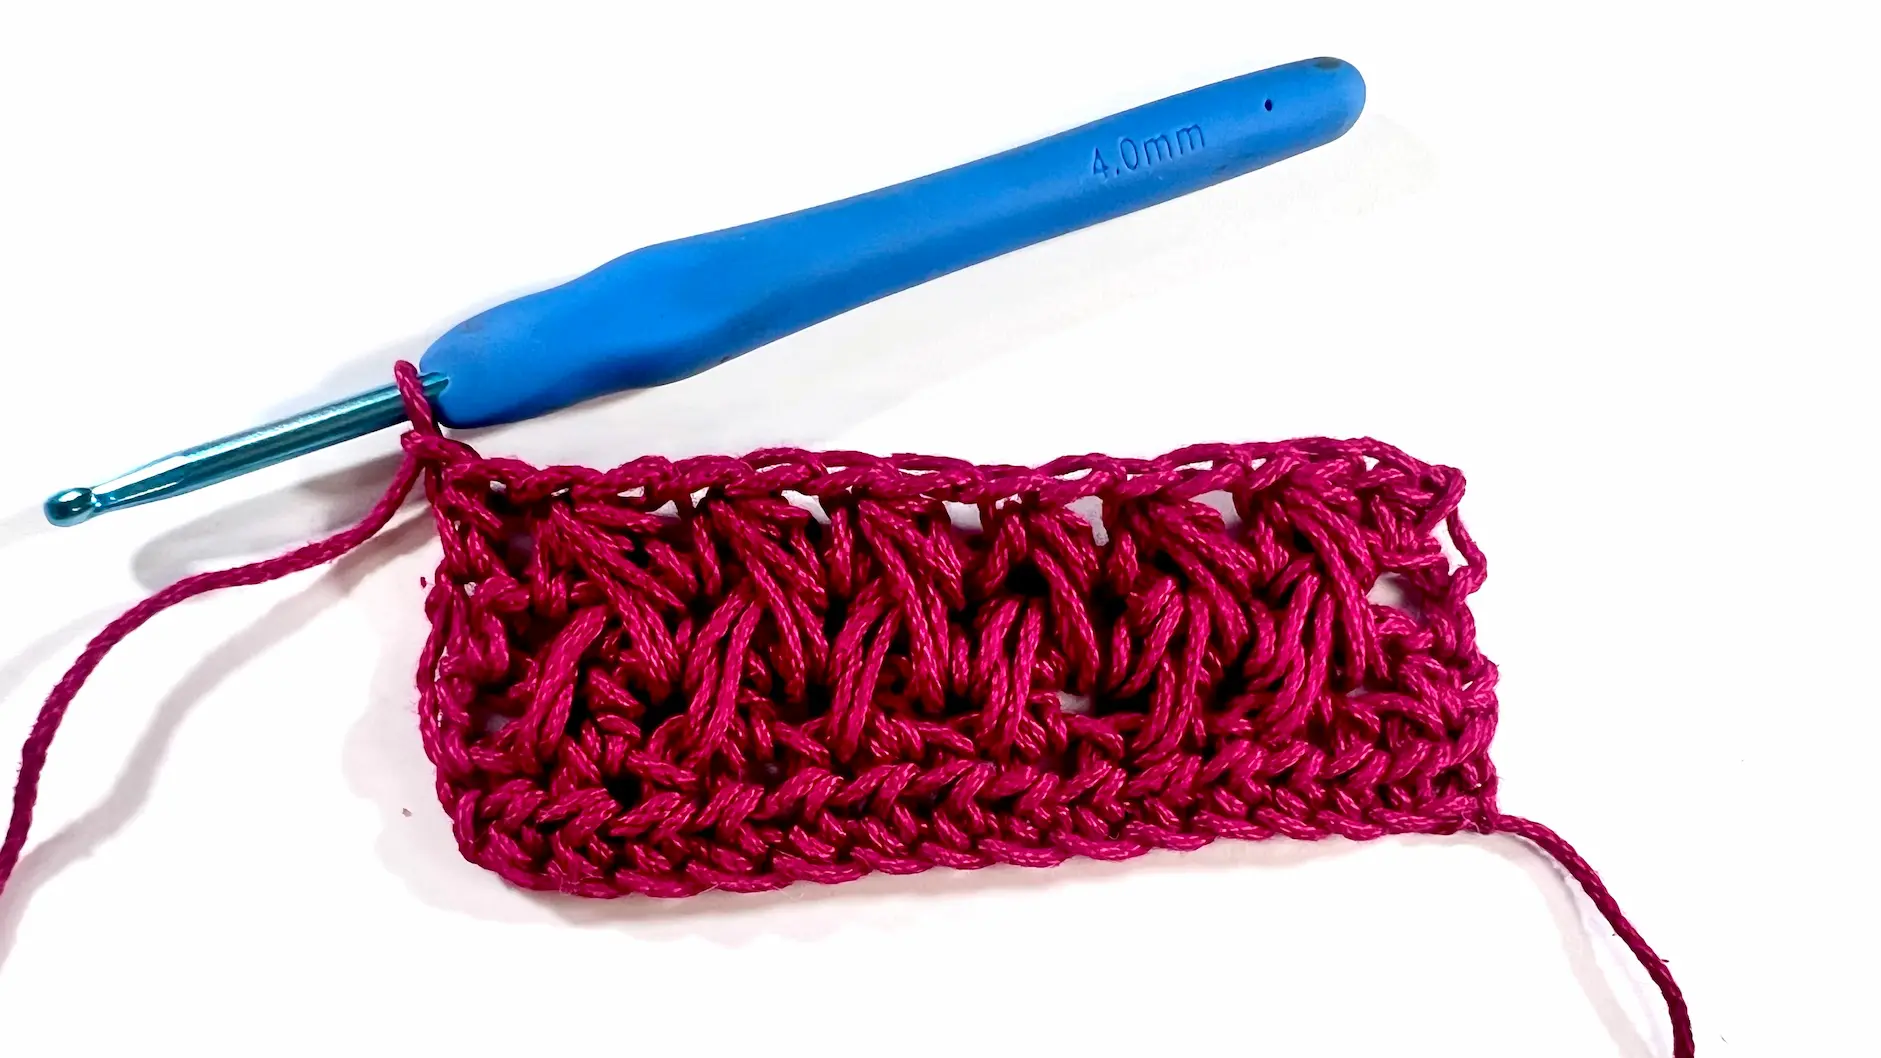
Ta-Da!
You’ve just learned how to crochet the beautiful and textured Feather Stitch! Isn’t it such a satisfying stitch to work with? Whether you're planning to turn this into a cozy blanket, a scarf, or just adding it to your stitch library, this stitch adds such lovely depth and texture to any project.
I hope you found this tutorial helpful and inspiring. 💖
If you try the Feather Stitch, I’d love to see what you make—tag me @happyheartsy on Instagram so I can cheer you on!
Don’t forget to check out the video tutorial if you haven’t already, and feel free to leave a comment below if you have any questions or want to share your experience.
Until next stitch,
Lenka


Comments